
There’s a time capsule on my desk. That’s what it looks like to me, but in reality it’s my new crafting tool, a Silhouette Portrait.
I’m not abandoning my trusty Slice Elite – there are so many designs that I have yet to cut out on that machine, and I love that’s it compact and portable. The Portrait’s compact for a desktop die-cut machine, which is important because my desk in the home office doesn’t have a lot of real estate, just like my craft space. I’m sensing a pattern.
The ability to design cut files is the reason I wanted the Portrait. I cannot wait to die-cut something I’ve designed. Why wait? Well …
After setting up the machine and its software, I tested it out by die-cutting some music-note shapes for a Father’s Day card. The design is intricate, and the Portrait performed fabulously. I took the die-cuts to my craft space to put them on my card and returned to the Portrait to die-cut “DAD,” but the machine wasn’t detected by my computer.
The power adapter that came with the machine is bad. No die-cut “DAD.” Sad. Silhouette is sending a replacement adapter. I’m disappointed that my new toy is temporarily unusable.
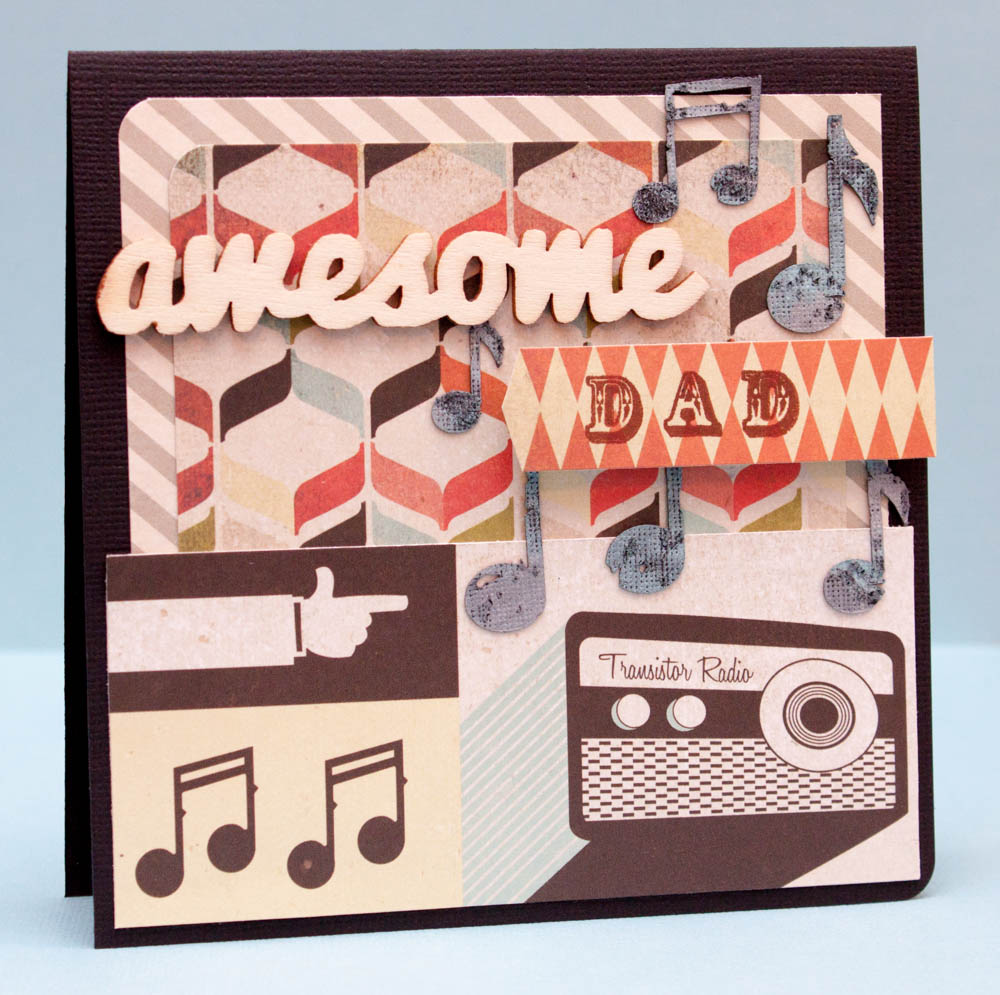
The die-cut music notes round out my music-themed card for my father-in-law, who loves Elvis and karaoke. I’m obsessed with Basic Grey’s Hipster collection (I used elements from the line last week and the week before), and the color palette is great for a masculine card.
Here’s how to make it:
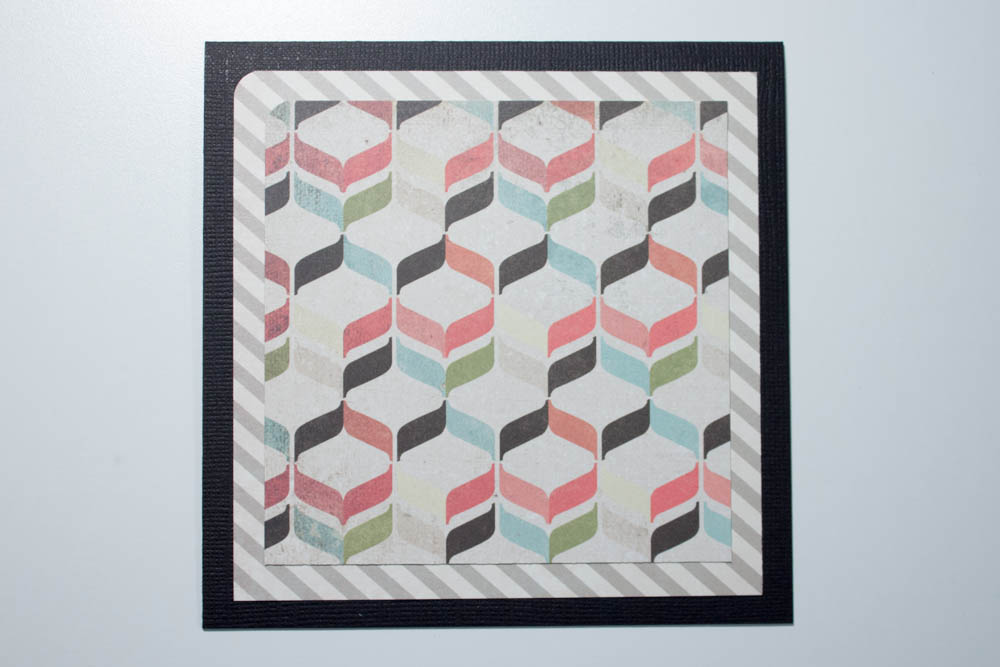
Make a card from a 5-by-10-inch piece of black textured cardstock. Cut a 4 1/2-inch-square piece of gray-and-cream, diagonally striped cardstock (mine’s from the Park Bench collection by Fancy Pants Designs), round the upper-left corner (I used a corner-rounder punch) and adhere it, centered, to the card’s front. Cut a 4-inch-square piece of vintage-themed patterned cardstock (such as “Jive” from Basic Grey’s Hipster collection), round the upper-left corner and adhere it, centered, to the striped piece.
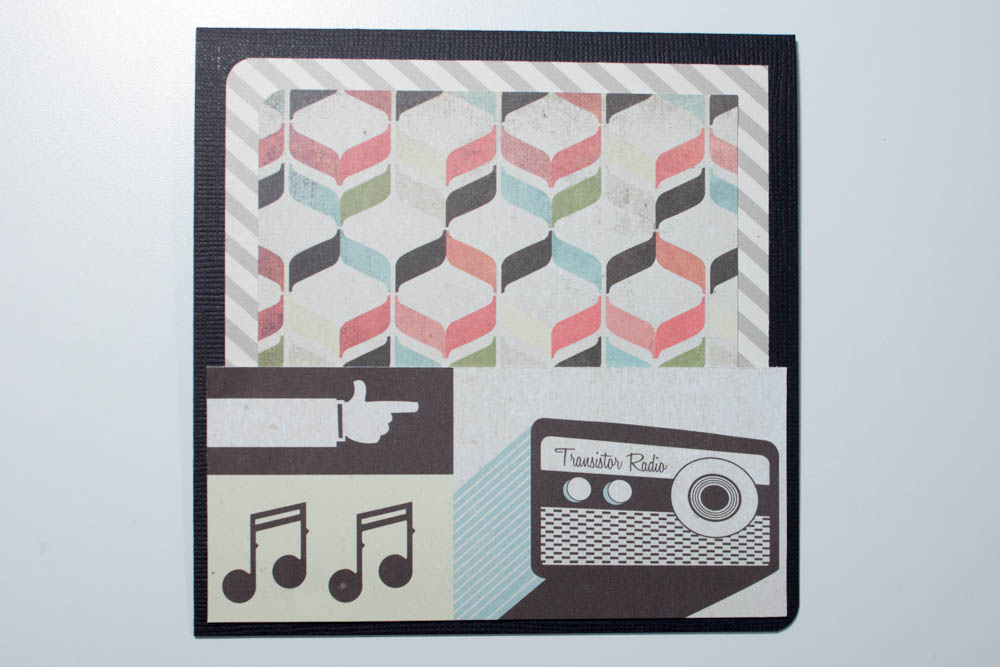
Adhere a 4 3/4-by-2 1/8-inch piece of cardstock that features images of music notes and a vintage radio (I cut mine from the Hipster collection’s “Nifty” paper) and adhere it, centered, to the bottom of the card’s front. Round the lower-right corner of the card and the matching corner from the back of the card.
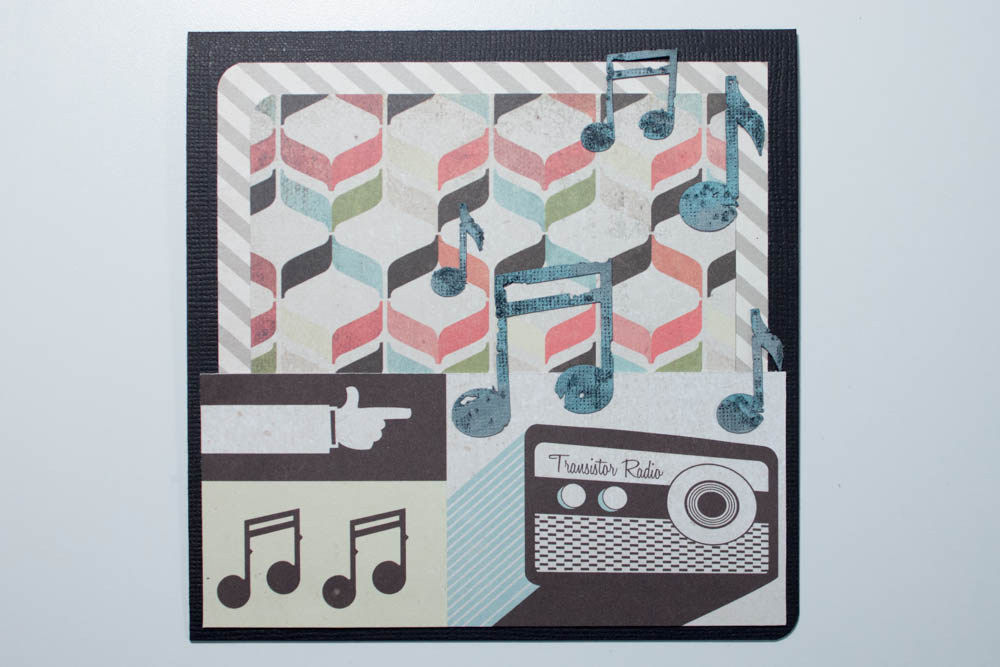
Distress several black die-cut shapes of music notes in different sizes (I created mine using my Silhouette Portrait and “Music Notes: Grunge” by Silhouette) with gray and light-blue pigment ink (I used Fresh Ink in slate and pool).

Adhere the die-cuts in a random fashion to the right half of the card’s front (I decided to use only five of my die-cuts).
Cut a piece of orange-and-cream, diamond-patterned cardstock (“Nifty”) to about 2 3/4 inches wide by 3/4 of an inch high, and trim its left end to a point. Stamp “DAD” (I used letters from the Spellbound collection by Making Memories) in brown ink (such as Vivid! ink in brown) onto the piece, centered vertically and closer to the left end.

Using dimensional adhesive, affix this piece to the card’s front, about 1 3/4 inches from the top edge and lined up with the right edge.

Adhere a wood veneer die-cut that spells “awesome” (Hipster) 1 inch from the card’s top edge and close to the left edge.

Adorable card! Love how it all came together!
Awesome card, love the distressed music notes.
Great tutorial! Thanks for sharing!
Great card! Love its musical theme. Love Penny