
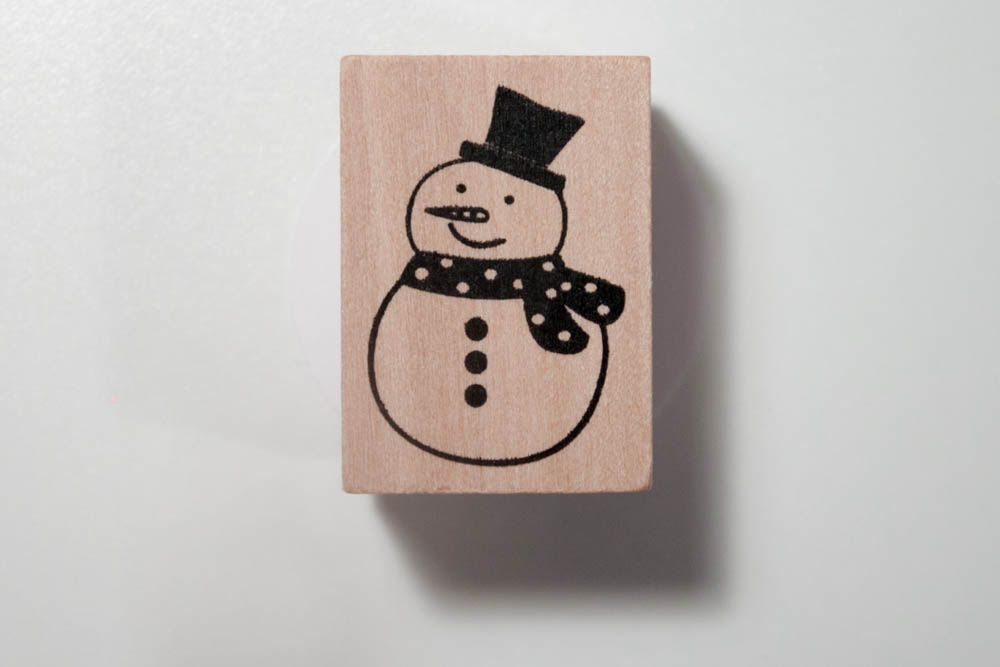
I tracked down a Hero Arts Decorate It! stamp set at Target for its cute penguin, but the penguin came with friends: two cute snowmen. Using this set has helped to add variety to the 60 cards I’ve made for the holidays this year. While I duplicated several designs to get to 60 cards, some are unique, such as these. These designs have numerous steps, including gluing 40 little letters. What would that card be without them, though?
These cards also involve a bit of precision cutting with a die-cut machine, in this case, the Slice. With the first card, though, an oval punch that works anywhere on the paper also could be used.

Here’s how to make them:
Card one: Hey, there!
Cut a piece of red, dotted-circle-patterned cardstock to 4 1/4 inches square. Create a 2-inch vertical oval “window” in the center (I used my Making Memories Slice Elite and “Remember This” design card.)
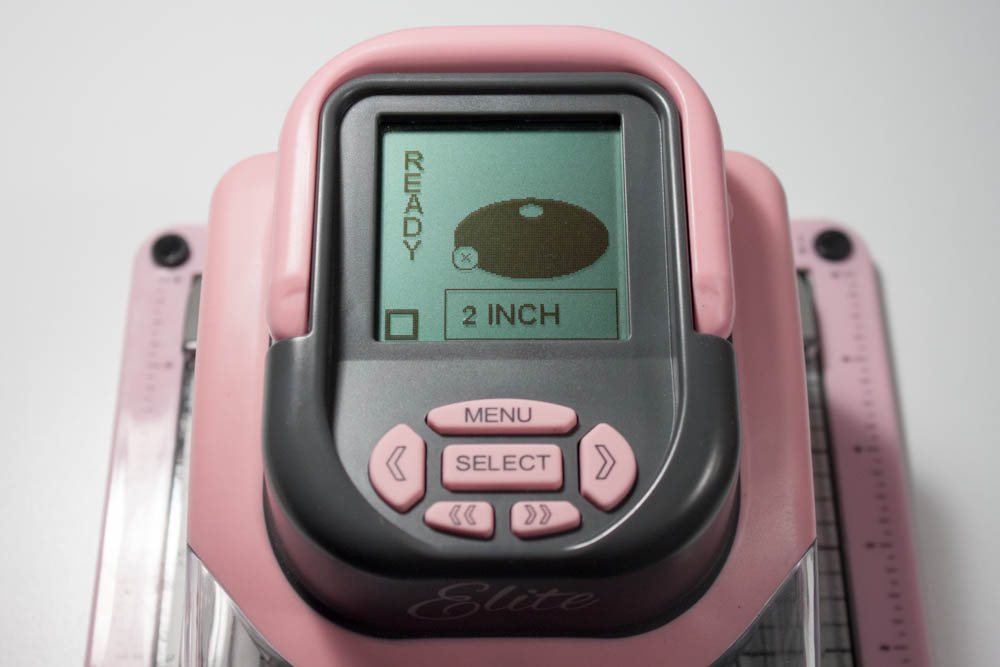
To ensure that the 2-inch-tall oval window was centered on my patterned cardstock when cutting with my Making Memories Slice Elite, I first made a cut onto a 4-inch-square piece of cardstock. I used an oval tag on the “Remember This” design card.
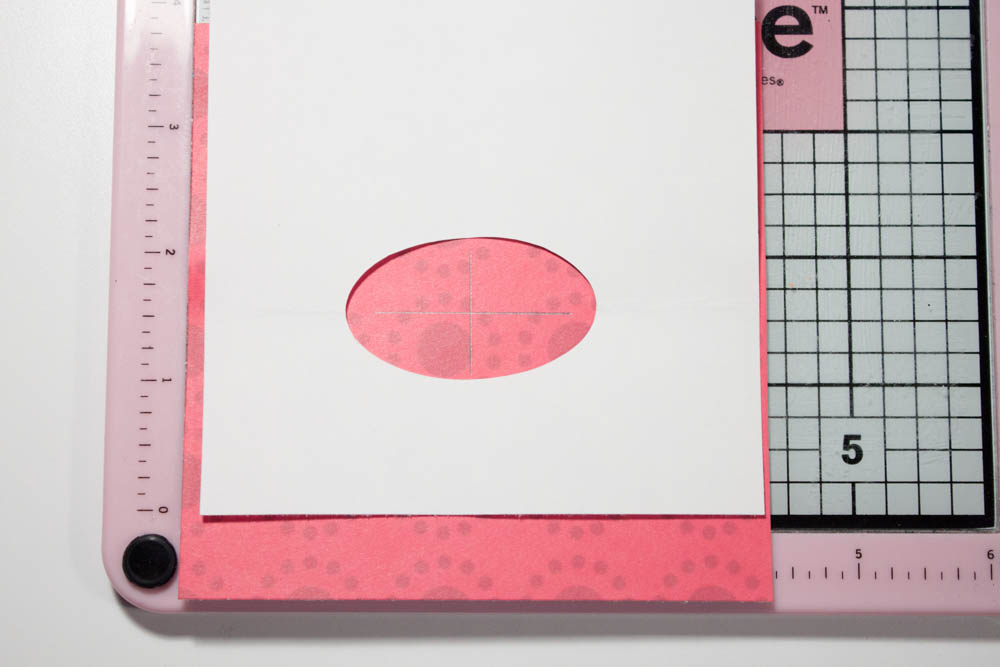
After making the cut on my scrap cardstock, I used that piece as a guide for where the cutout would be on my patterned paper. Then, keeping the scrap paper in position over the patterned cardstock, I placed both pieces on the cutting mat, making sure the scrap paper lined up with where it had been for the first cut. I then removed the scrap paper and made the cut on the patterned paper.
Cut a piece of vellum to 4 inches square, and cut another 2-inch vertical oval in the center of this piece.
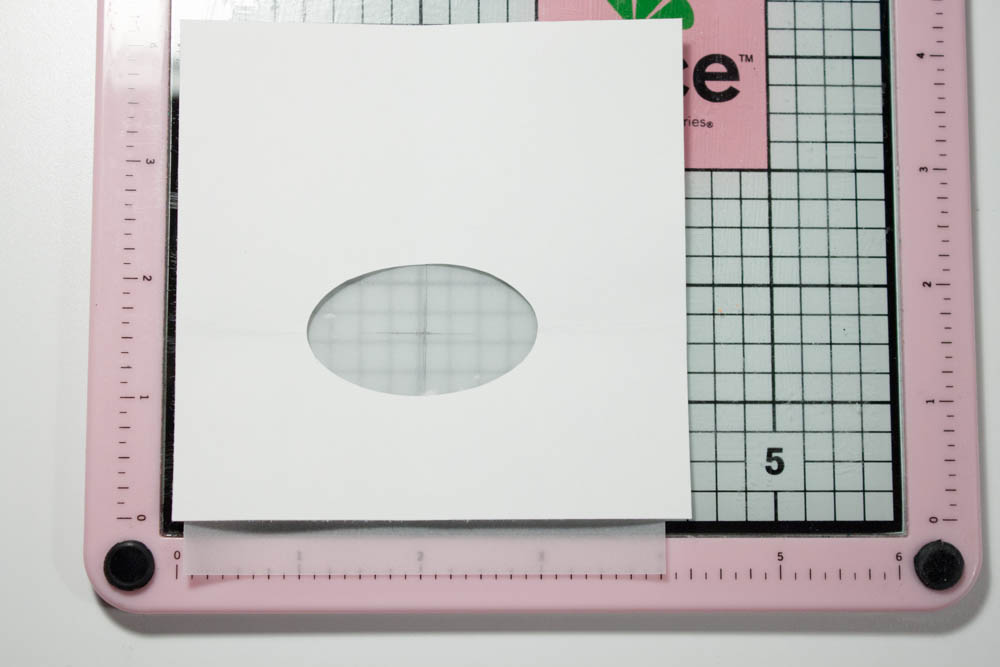
I used the scrap cardstock again as a guide to make another oval cutout on a 4-inch-square piece of vellum.
Use four red rhinestone brads in the corners of the vellum piece to attach it to the patterned paper, making sure the oval windows line up. Apply a red, dotted oval rub-on around the window on the vellum (I used one from Mini Marks Accents Book Four by American Crafts).

Cut a 2-by-2 1/2-inch piece of white cardstock. Stamp a snowman image (mine’s from the Sending Cheer Decorate It! collection by Hero Arts for Target) in black ink (I used Versafine in onyx black) onto the lower-left corner of this piece, at an angle.

Color the snowman’s hat, nose and scarf in marker (I used Marvy LePlume II markers in No. 13 ochre, No. 39 ash gray, No. 65 cherry and No. 102 jade green). Adhere this piece behind the patterned paper so that the snowman is mostly visible through the windows.

Cut a piece of lime-green textured cardstock to 4 3/4 inches square. Adhere the patterned paper, centered, to it. Make a card from a 5-by-10-inch piece of white textured cardstock, and adhere the green paper, centered, to the card’s front.
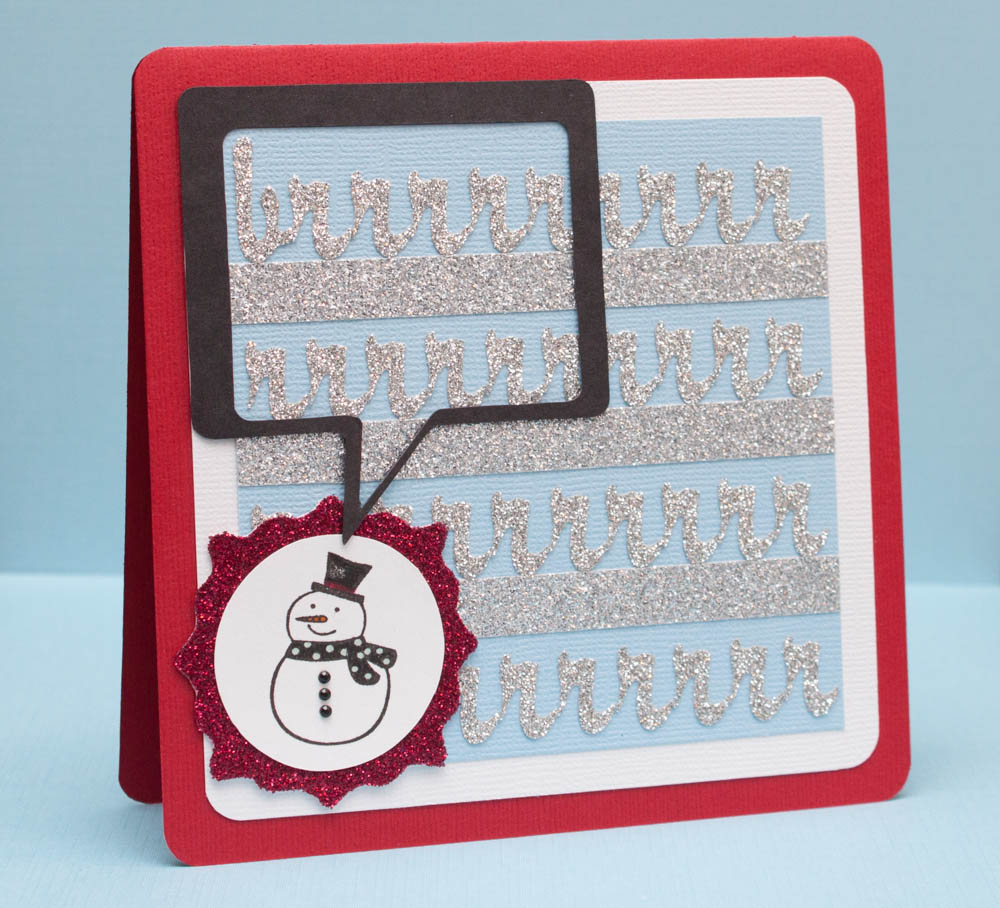
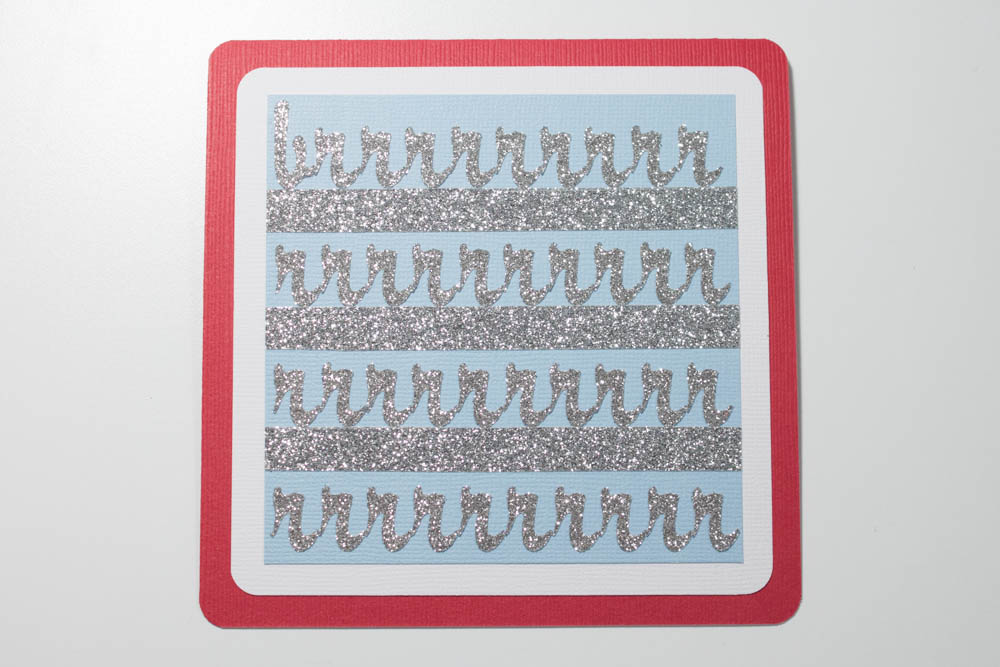
Card two: Baby, it’s cold outside
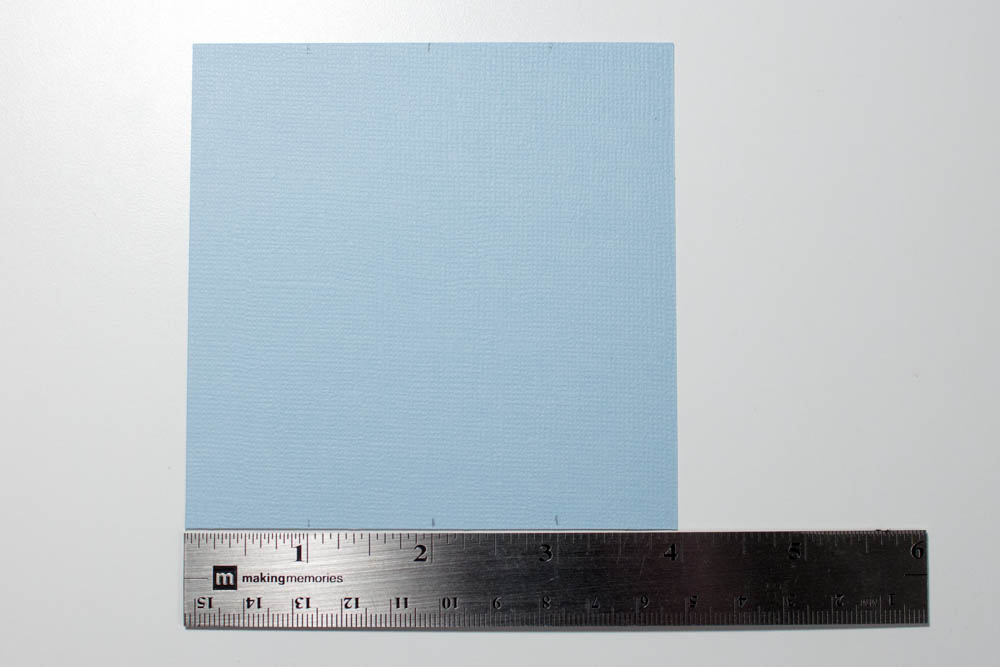
Cut a piece of light-blue textured cardstock to 4 inches square. Make small marks with a pencil on both sides of this paper at 1 inch, 2 inches and 3 inches.
Adhere three 4/12-inch strips of silver glitter tape (mine’s by American Crafts) centered over the pencil marks.
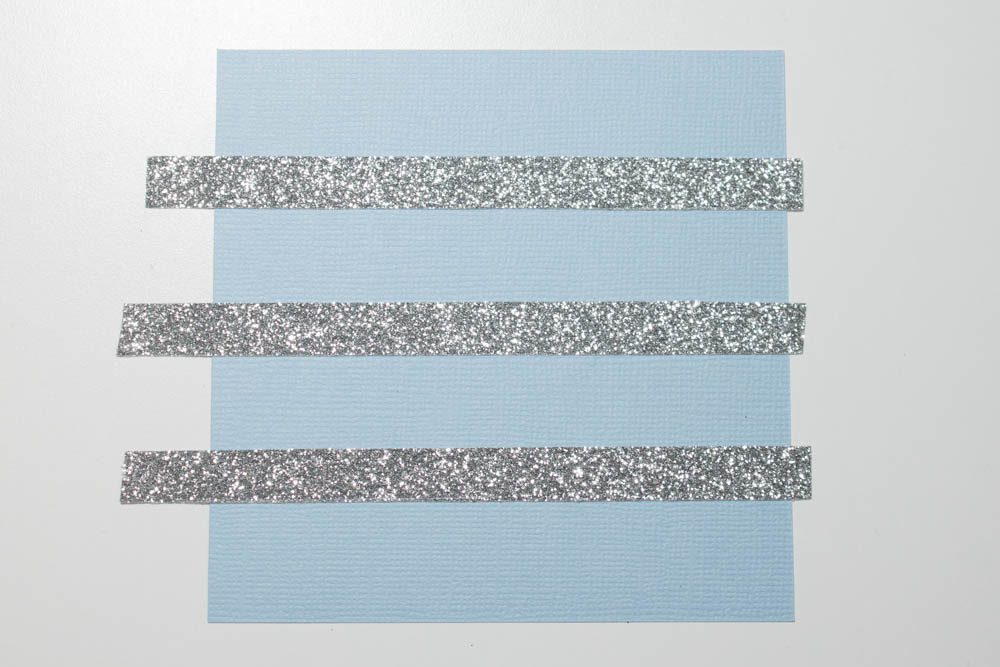
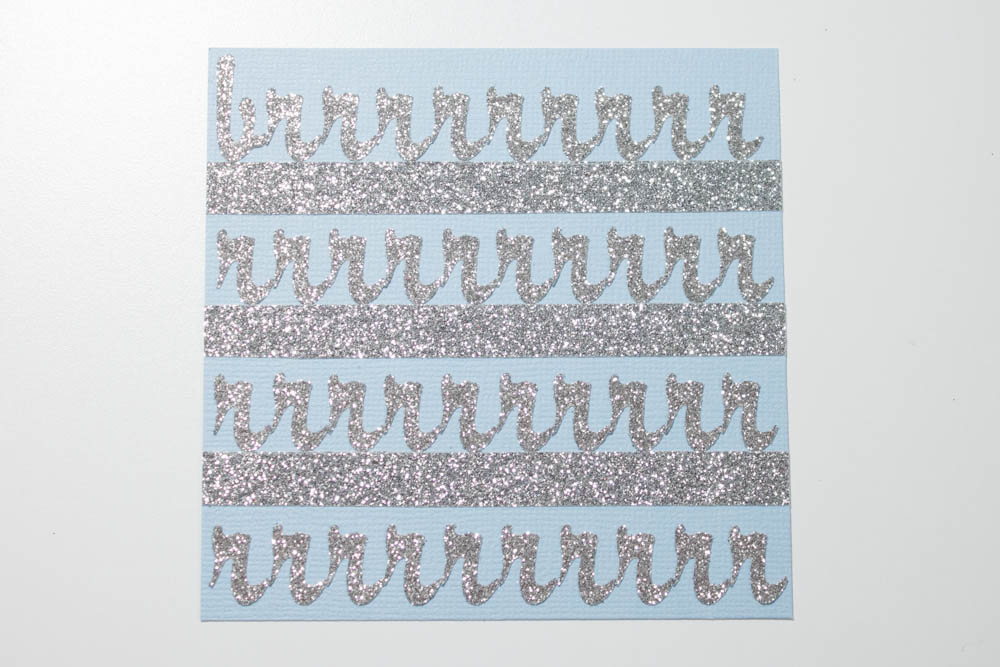
Trim the excess glitter tape from the paper’s edges. Adhere small, silver-glitter letters that spell “brrrrrrrrrrrrrrrrrrrrrrrrrrrrrrrrrrrrrrr” to this piece, starting at the upper-left corner and making four rows of letters, each row lined up against the glitter tape (I cut out all letters using my Slice, lower-case font on the”Bon Appetit!” design card and silver glitter cardstock from the Fresh Paint collection from Marcella by K).

I cut out one 1-inch “b” in silver-glitter cardstock (make sure the cardstock is thin) on my Slice. I used the small font on the “Bon Appetit!” design card.
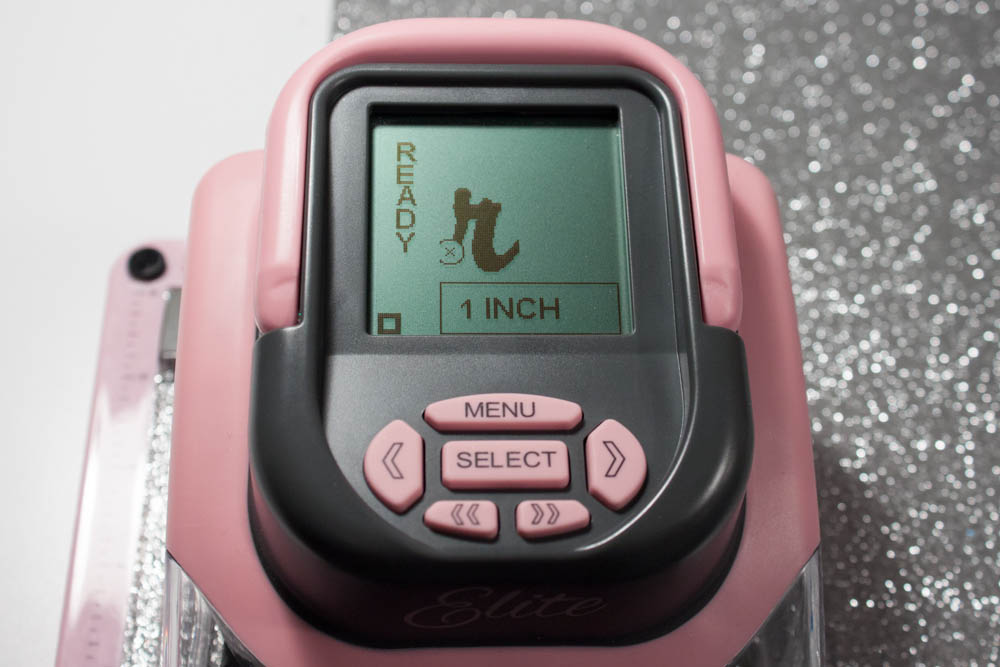
I then die-cut 39 “r”s.
Cut a piece of white textured cardstock to 4 1/2 inches square and round its corners. Adhere the light-blue cardstock, centered, to it. Make a card from a 5-by-10-inch piece of red textured cardstock (such as Bazzill Basics cardstock in ruby slipper) and round its corners. Adhere the white cardstock, centered, to the card’s front.
Adhere a 2-inch decorative-edge circle in red glitter cardstock (I used my Slice, “Mistletoe” design card and scarlet glitter cardstock by The Paper Studio) to the lower-left corner of the card’s front.

I made a 2-inch circle with a decorative edge in red glitter cardstock using my Slice and “Mistletoe” design card.
Stamp a snowman image (Sending Cheer, Hero Arts) in black ink (Verafine) onto a 1 1/2-inch circle of white cardstock (I used my Slice and “Basic Elements” design card).
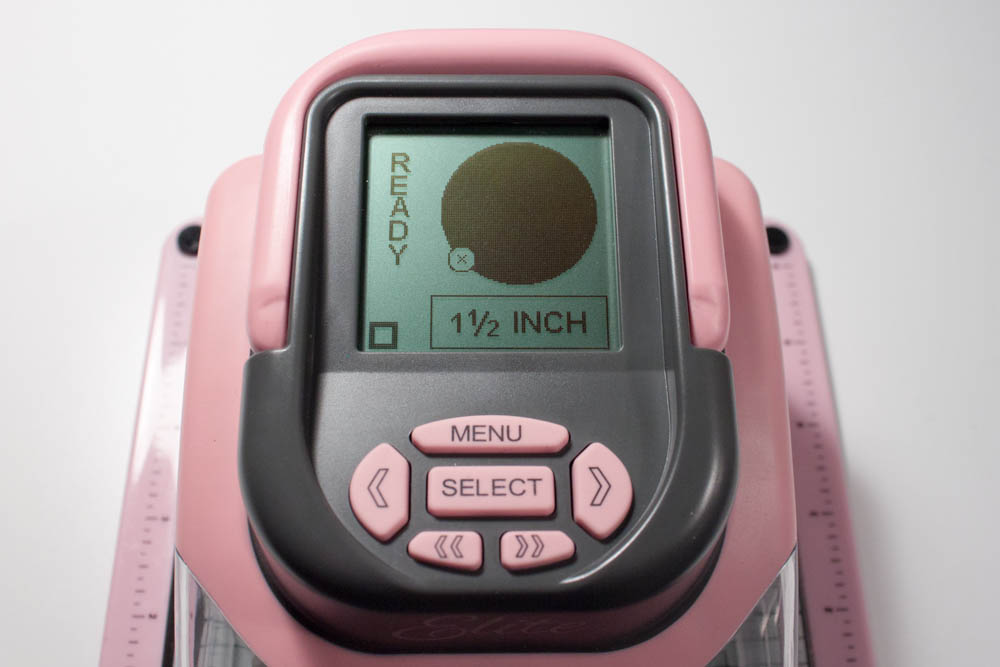
I created a 1 1/2-inch circle out of white cardstock using my Slice and “Basic Elements” design card.
Using marker, color the snowman’s nose, hat stripe and the polka dots (I used Marvy LePlume II markers in No. 13 ochre, No. 51 aqua gray and No. 65 cherry). Adhere this piece, centered, over the glitter circle. Affix three tiny black rhinestones to the snowman’s “buttons.”
Adhere a 3-inch-wide talk-bubble frame in black cardstock (I used my Slice, “Remember This” design card and scrap cardstock to create one) to the upper-left corner of the card’s front, framing the start of “brrrrrrrrrrrrrrrrrrrrrrrrrrrrrrrrrrrrrrr.”

I first cut out a 3-inch-wide talk bubble in black cardstock using my Slice and “Remember This” design card.

I cut out a 2 1/2-inch-wide talk bubble out of scrap cardstock.

I used the scrap paper as a guide to determine where to place my 3-inch talk bubble on the cutting mat for a 2 1/2-inch talk bubble to be cut inside of it, creating a frame.

I removed the scrap paper and made certain my die-cut was firmly adhered to the cutting mat before making the cut.

so, so cute!!!! love the stamp!!!
Cute cards 🙂
I just love the little guy peeking out of the window!