
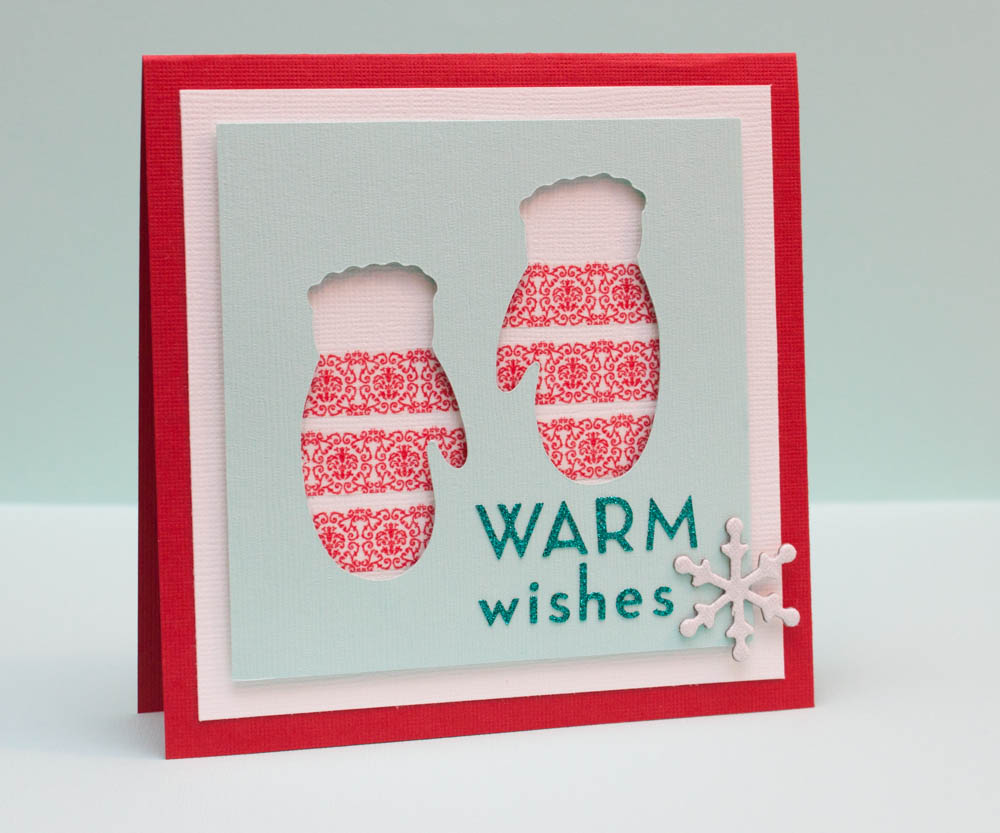
I’m having a slight obsession with negative space. Instead of using a die-cut on a card, I use the paper the die-cut was created from — the negative space left after cuts have been made. I’ve used the negative space as a mask for stamping, but I also like to use the “windows” as a main feature for a card. I plan my card designs around the negative space, using dimensional adhesive to let the cutouts stand out.
If you don’t have a die-cut machine, you could use a punch (ones that punch anywhere on the paper would be great for this) or, depending on how much time/patience you have, you can cut out shapes by hand. Then imagine the possibilities: cutouts that reveal the inside of a card or something underneath, such as a patterned paper. For this card, I created a striped pattern for my mittens using washi tape.
Here’s how to make it:
Cut a piece of light-aqua textured cardstock to 4 inches square. Cut out two 3-inch-high mittens from this paper, with the left mitten positioned about half an inch from the left edge and about and inch from the top edge, and the right mitten about three-fourths of an inch from the right edge and about half an inch from the top edge (I used my Making Memories Slice Elite and “Mistletoe” design card).
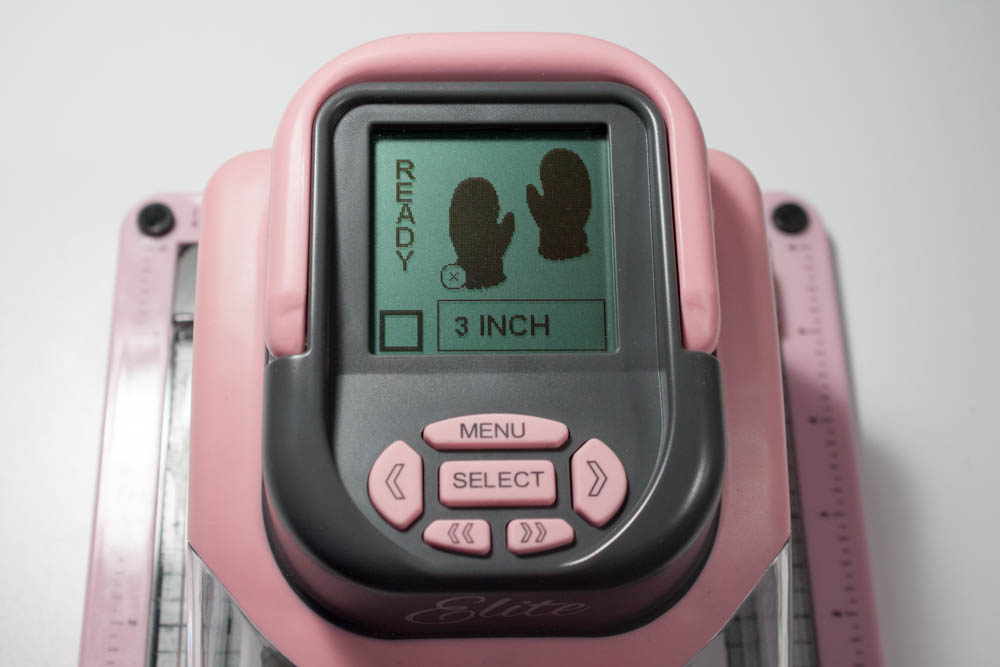
First, I cut out 3-inch-high mittens from a 4-inch-square piece of scrap cardstock, using my Making Memories Slice Elite and “Mistletoe” design card.

After the cuts were made on my scrap cardstock, I used it as a guide to determine where I wanted the same cuts to be made on a 4-inch-square piece of light-aqua textured cardstock. With the scrap paper behind the aqua paper, I placed them on the cutting mat, positioning them so that the scrap paper was in the same place as where it has been for the initial cuts. I removed the scrap paper, pressed the aqua paper firmly to the adhesive on cutting mat and cut out a second set of mittens.
Cut a piece of white textured cardstock to 4 1/2 inches square. Position the aqua cardstock, centered, over this piece and trace the mittens onto the white cardstock in pencil (you do not need to trace the cuffs of the mittens). Set the aqua piece aside.

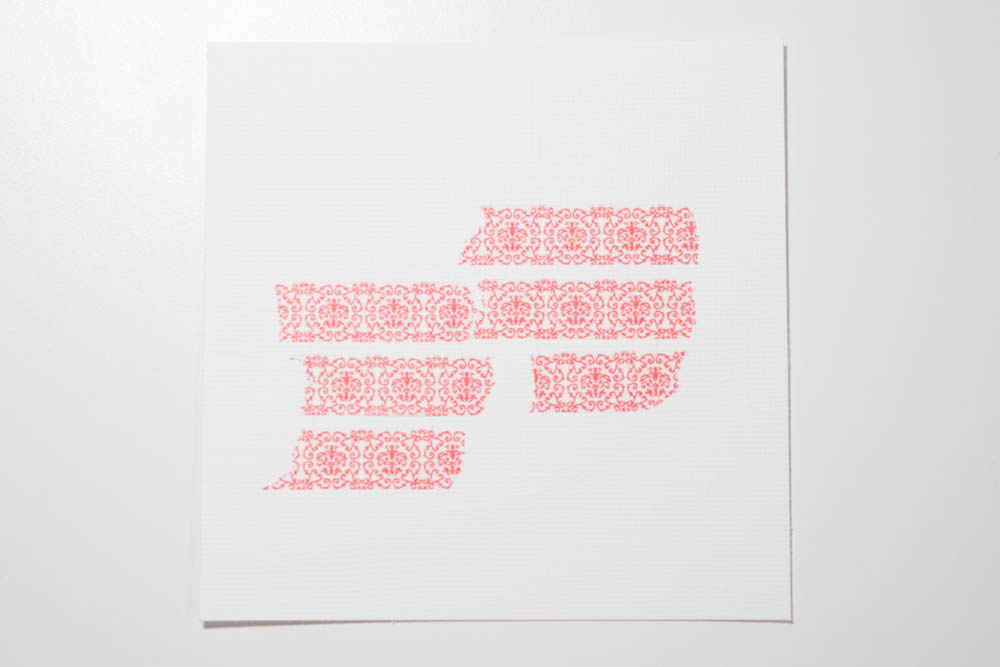
Adhere six pieces of red-and-white patterned washi tape (such as from the decorative washi tape set No. 2 by Hambly Studios) horizontally to the white cardstock, using the pencil lines as guides (three pieces per mitten). Keep the tape below where the mittens’ cuffs will be, and add some space between each piece. Erase the pencil lines.
Adhere aqua glitter letter stickers (I used ones from the mini shimmer alpha Metro collection by Making Memories) spelling “WARM wishes” in two lines to the aqua piece, below the right mitten and starting the letters close to the left mitten.

Make a card from a 5-by-10-inch piece of red textured cardstock. Adhere the white cardstock, centered, to the card’s front. Using dimensional adhesive, adhere the aqua cardstock, centered, to the white piece. Affix a 1-inch white glittered chipboard snowflake to the lower-right portion of the aqua paper, over the edge and close to the letters.

Adorable!
This is so cute!
This is such a cute card.
I am obsessed with negative cuts too, what a great way to embellish your cut out design with that washi tape, cute!
Fabulous card!
Cute card 🙂
I love the negatives lately
Such an adorable card!
Lovely card, it looks so cute! I also love the color combinations you used, I didn’t know that the red would match so good with the pool color. Lovely! 🙂