
The fabric store in my town’s mall closed a couple of months ago. I noticed the store’s closeout sale during its final week, and I hoped I would find some ribbon to add to my craft supplies. There’s wasn’t much ribbon left. I was lucky to find two spools that I liked. What I didn’t expect to see were the scores of leftover fancy buttons. I bought skull-and-crossbones buttons, which I used on a Halloween card, and some pretty buttons that made me think of winter … and snowflakes … and button snowflakes.
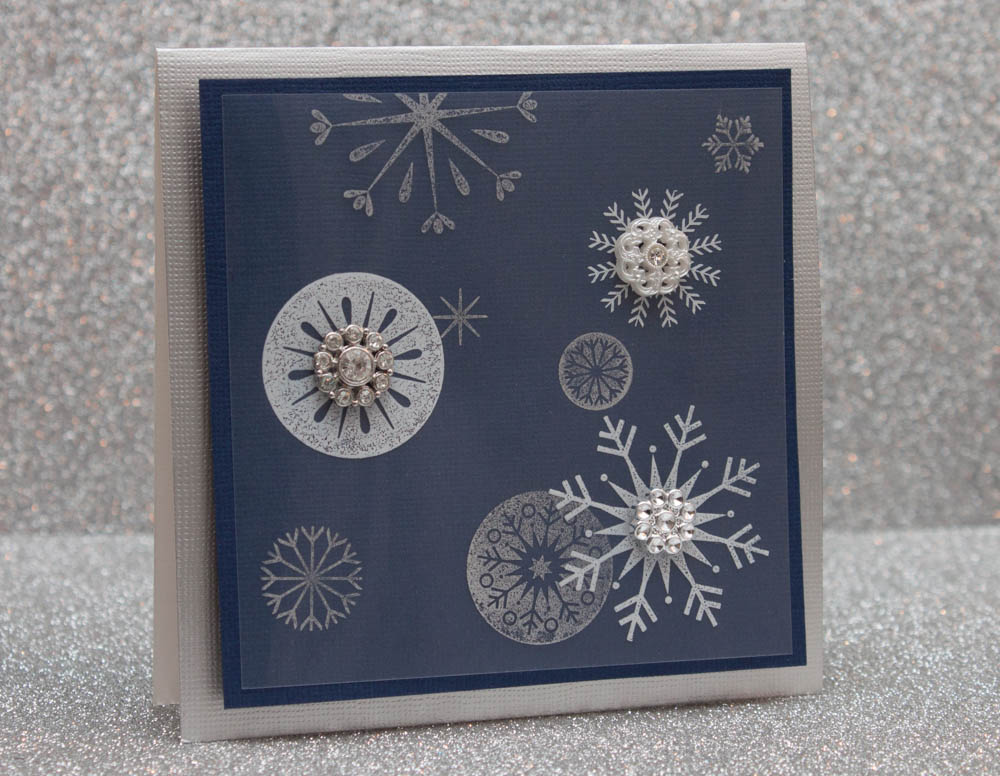
I created this card to send to a friend for Hanukkah, but it also makes a lovely holiday card for anyone. I used a transparency intended for inkjet printers. It has a somewhat gritty side for ink, which is the side I stamped on. Allow the ink to dry on the transparency before completing the card. Metallic ink tends to take longer to dry and still can rub off, so be gentle with the transparency after the ink is dry.
Here’s how to make it:
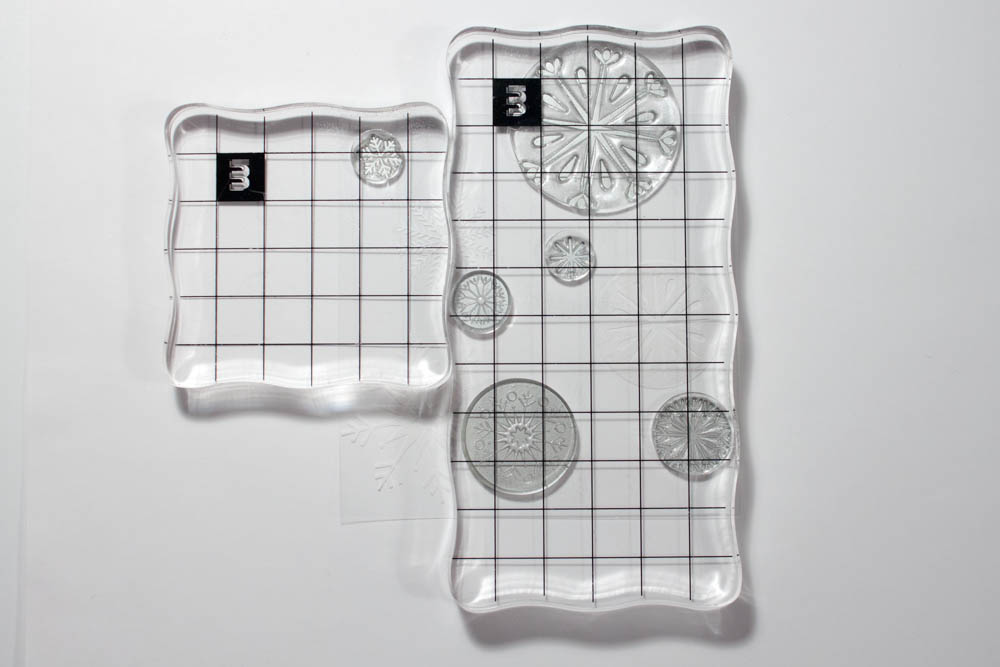
Cut a transparency (I used a transparency for inkjet printers) to 4 1/4 inches square. Stamp three different snowflake images (such as from the snowflakes collection by Hero Arts) in white ink (I used Tsukineko Brilliance in moonlight white, which is a multiple-surface ink) in a random fashion onto the transparency.

Stamp six other snowflake images of various sizes (also from the Hero Arts snowflake collection) in silver ink (mine’s from the ColorBox Petal Point Pinwheel collection) in a random fashion onto the transparency.
Allow the ink to dry. Cut a piece of deep-blue textured cardstock to 4 1/2 inches square (I used Bazzill Basics cardstock in admiral). Place the transparency, ink side down and centered, onto the cardstock and use a piece of tape to temporarily hold the transparency to the cardstock. Punch holes in the center of the white snowflakes, through the transparency and the cardstock. Insert white and silver buttons (I used a white button with a rhinestone by JHB, a silver button by La Petite and a silver button with rhinestones by Bazzill Basics) through the holes and secure to the back of the cardstock.

Make a card from a 5-by-10-inch piece of silver textured cardstock (such as from The Metallic Stack by Die Cuts With a View). Using dimensional adhesive, adhere the blue cardstock, centered, to the card’s front.

Beautiful card! I have never stamped on transparency before… definitely something I am going to have to try!
If the transparency is not for an inkjet printer (and therefore doesn’t have the ink-friendly, gritty side) and is plain acetate, use an ink like StazOn. Here’s another card I made with a stamped transparency: https://the-cardist.com/2012/04/06/tie-a-ribbon-around-my-umbrella).
Thanks for the tutorial and beautiful card!!
I like the transparency. It gives a festive reflection
lovely card! i love the idea of stamping on a transparency!
Very pretty card!
beautiful card!!!
Beautiful card, love the snowflakes on the transparency 🙂
beautiful card! Great idea to use the transparency.
oh so very pretty! i just love snowflakes
How cute are those buttons for accents!