
Christmas is here, I have met my card-making deadline and I’m relaxing by the fire as I write this, my 100th blog post. I’m in good spirits, unlike this grumpy cat. He’s not happy, less so after I put a die-cut string of lights to him.
I cut out my stamped furry friend by hand and left him uncolored to allow the lights to stand out. I’m always looking for ways to use Shimelle Laine’s snarky stamp set, and her “oh really?” is a great fit.
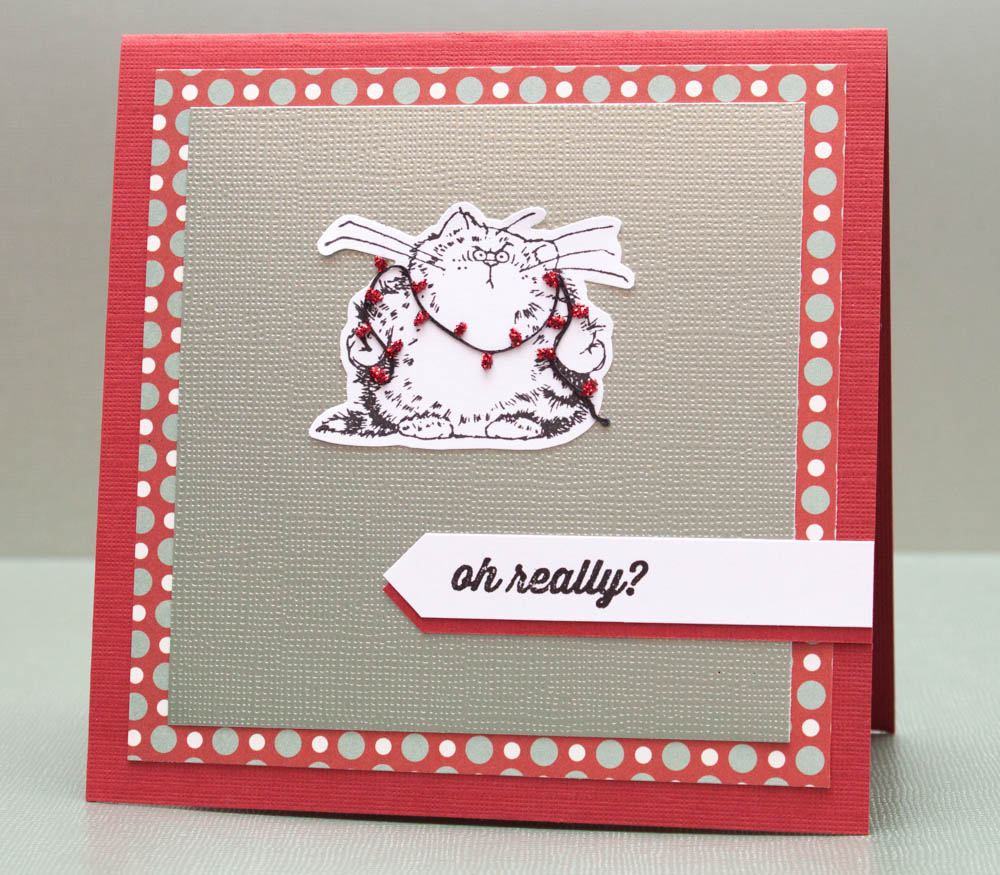
“You want me to plug these lights where?!?” the inside reads.
It’s hard for me to grasp the reality of 100 posts during the past two years … 100 cards, hundreds of photos and thousands of words. Here’s to many more! Have a great holiday, everyone!
Here’s how to make your own holiday grumpy cat:
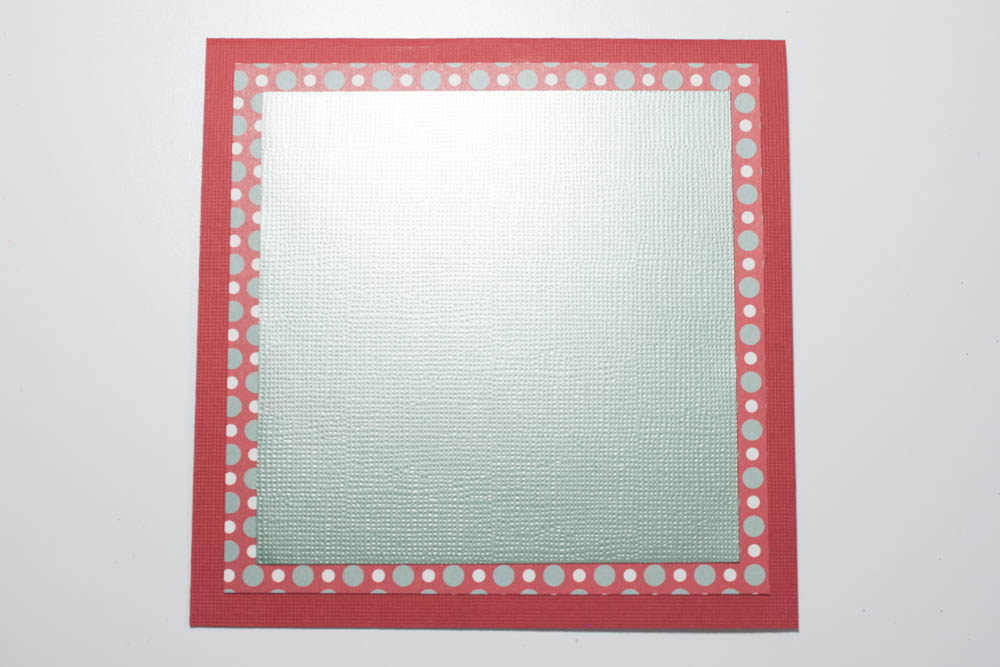
Make a card from a 5-by-10-inch piece of red textured cardstock. Cut a 4 1/2-inch-square piece of red, white and green polka dot cardstock (I used the reverse side of “Garbo” from the Darling Dear collection by Studio Calico) and adhere it, centered, to the card’s front. Cut a 4-inch-square piece of light-green metallic cardstock (such as from The Metallic Stack by Die Cuts With a View) and adhere it, centered, to the polka dot piece.
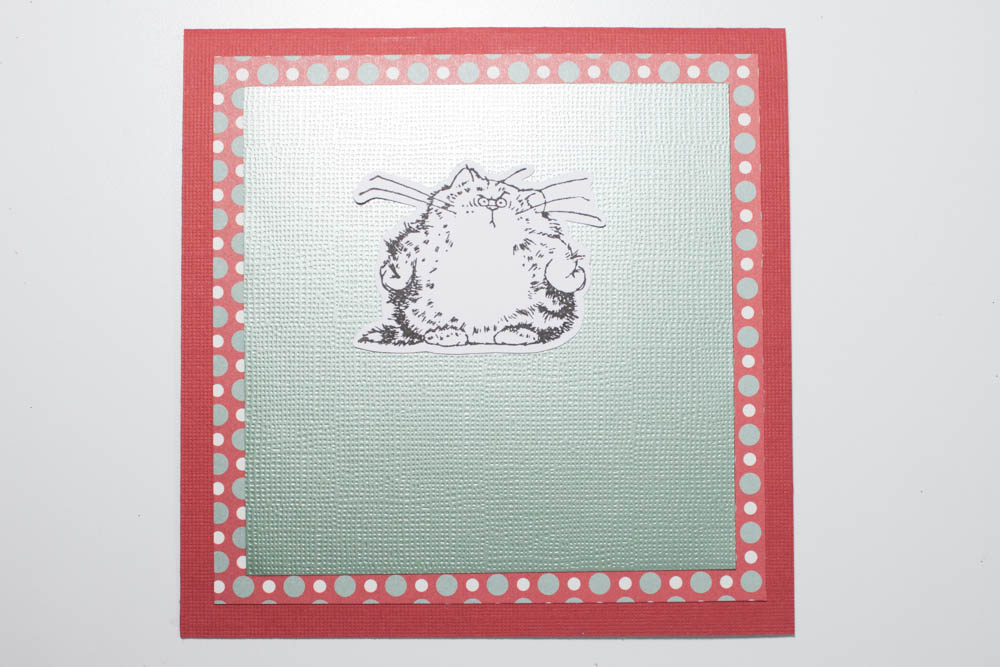
Stamp a cat image (mine’s from the Purrfect Day collection by Penny Black) in black in (such as Versafine in onyx black) onto a piece of white cardstock.

Cut out the stamped image, leaving a small margin around it.

Adhere the cutout to the metallic cardstock, close to the top of the card and centered horizontally.
Adhere a die-cut of a string of lights (I created mine using the light string from “Lady with Christmas light silhouette” by Megan Hardy Designs, my Silhouette Portrait and black cardstock) over the cat cutout. Glue red glitter (mine’s by Martha Stewart Crafts) to the lightbulbs.

Stamp “oh really?” (such as from the Nailed It collection by Shimelle Laine for Two Peas in a Bucket and Hero Arts) in black ink (Versafine) onto a piece of white cardstock.
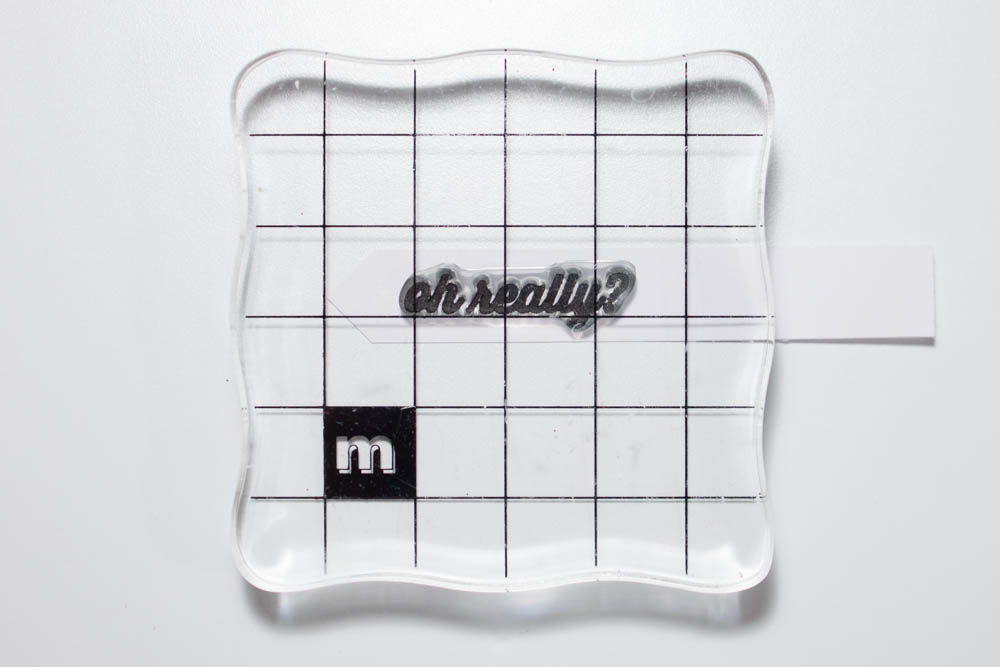
Trim this piece to the shape of a pointed flag, about 3 inches wide by half an inch high. Cut another flag in the same size in red cardstock, and adhere the red flag beneath the white flag so that it shows slightly from the bottom edge. Adhere the flag to the lower portion of the card, lining it up with the right edge.
