
I love a crafty challenge. One of my husband’s cousins recently contacted me to see if I was interested in creating a custom wedding card. He wanted something to reflect the personalities of the bride and groom. I wanted to incorporate the wedding colors, which I try to do when I make wedding cards.
Something humorous, retro and sci-fi in eggplant purple and sage green. I love retro. Challenge accepted.
I turned to my Silhouette Portrait for help and modified designs to get the look I wanted. I added gold-glitter cardstock and cream-colored, pearlescent paper to the color scheme. The gold glitter plays well with the colors and adds to the retro look.
I haven’t made a wedding card like this before. It’s fun, nontraditional and unique.

Here’s how to make it:
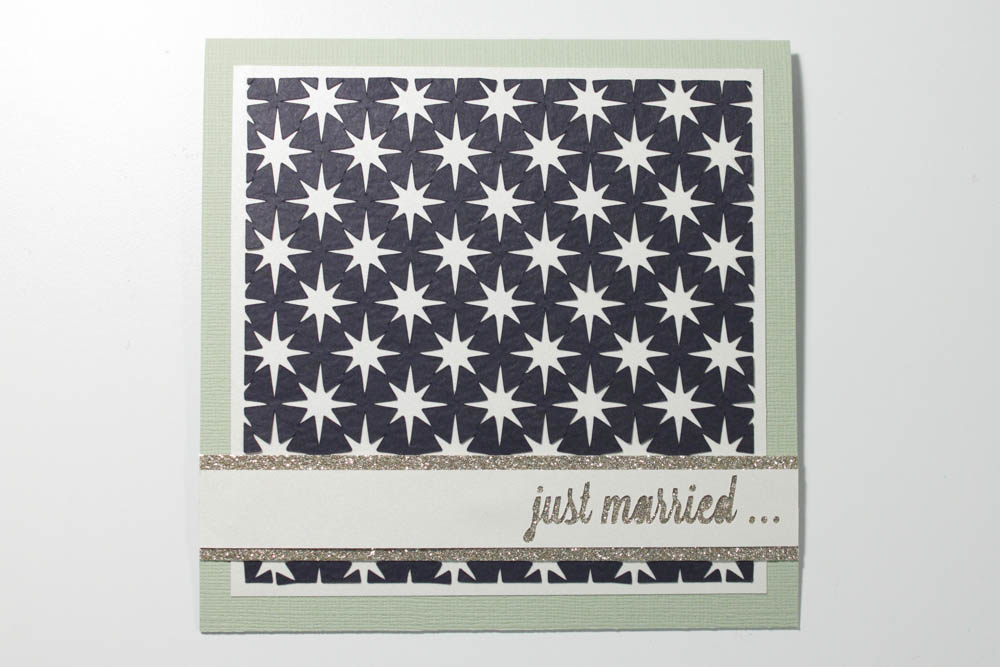
Cut a 4 1/2-inch-square piece of pearlescent, cream-colored cardstock. Adhere a 4 1/4-inch-square piece of eggplant-colored, textured cardstock featuring a die-cut pattern of starbursts (I used my Silhouette Portrait and “Retro Style Stars and Dots” pattern by Kristen Magee, which I modified) to the cream-colored paper, centered.

Make a card from a 5-by-10-inch piece of sage-green, textured cardstock. Adhere the cream-colored cardstock, centered, to the card’s front.

Die-cut “just married …” in a cursive font out of the right-side portion of a 5-by-1/2-inch strip of the pearlescent cardstock (I used my Portrait and the sturdy version of the Lavanderia font). Adhere a 5-by-3/4-inch strip of gold-glitter cardstock (I used Best Creation Inc. in bright gold) behind the sentiment piece. Adhere it to the lower portion of the card.
Using dimensional adhesive, adhere a die-cut of a sage-and-lilac-colored rocket (I used my Portrait, “Rocket Robot” by Hero Arts – which I also modified – sage-green and lilac-colored papers and lilac-tinted vellum) to the top portion of the card, at an angle. Using dimesional adhesive, affix a die-cut of a flame (mine’s from the rocket die-cut) in gold-glitter cardstock to the rocket.

Adhere a die-cut of cans and strings (I used my Portrait and cans from “Just Married Car” by Lettering Delights, which I colorized, printed and cut) over the rocket’s end and the flame. You may need to use dimensional adhesive as well, depending on the placement.
Optional step: Adhere striped, eggplant-colored die-cut letters in a retro-style font that spell the recipients’ names and a pearlescent, cream-colored die-cut ampersand (I created mine using my Portrait, paper from the Remembrance collection by Authentique, pearlescent cardstock and the Deftone Stylus font, which was used on the couple’s wedding website) to the rocket.
