
I crafted another card with vintage-themed flair, this time by using more stamps from New Zealand-based Flonz.
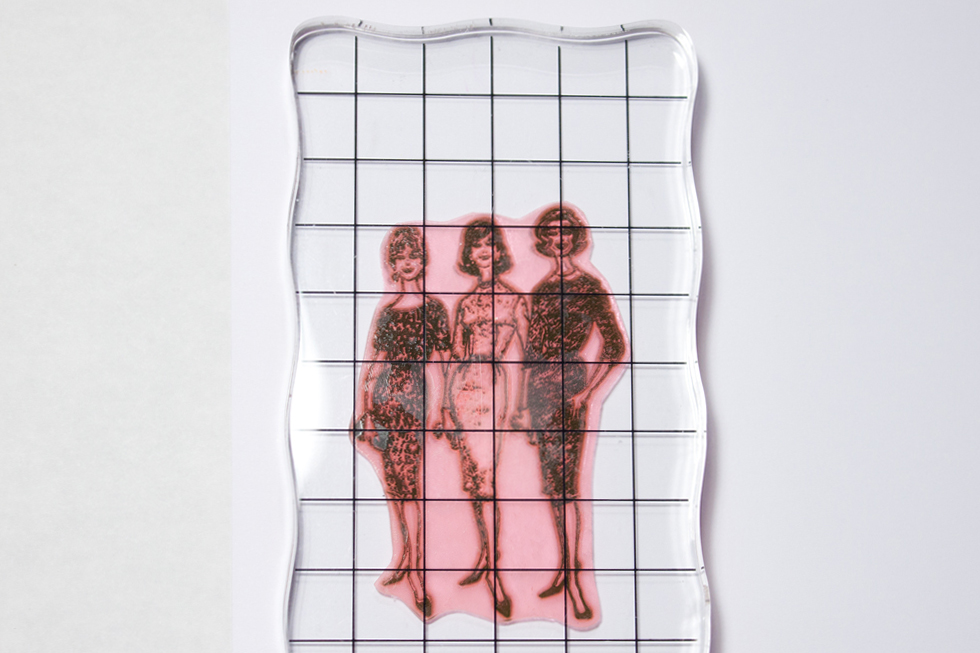
I’ve made several cards that feature images of vintage-fashion women, including a few using stamps by Hero Arts. The trio stamps by Flonz that I used for this card are smaller and offer lots of detail (I discovered Flonz recently; see another card I made with a Flonz stamp here). For intricate stamps such as these, I recommend using Versafine ink, which doesn’t bleed into the tiny crevices of the stamp and delivers a clear image.
I’ve turned to talk bubbles again and again to pair with these images. They go well together, and because talk bubbles are trendy right now, I have a variety of stamps to choose from. It’s also easy to create your own using a computer program or a die-cut machine.

Here’s how to make it:
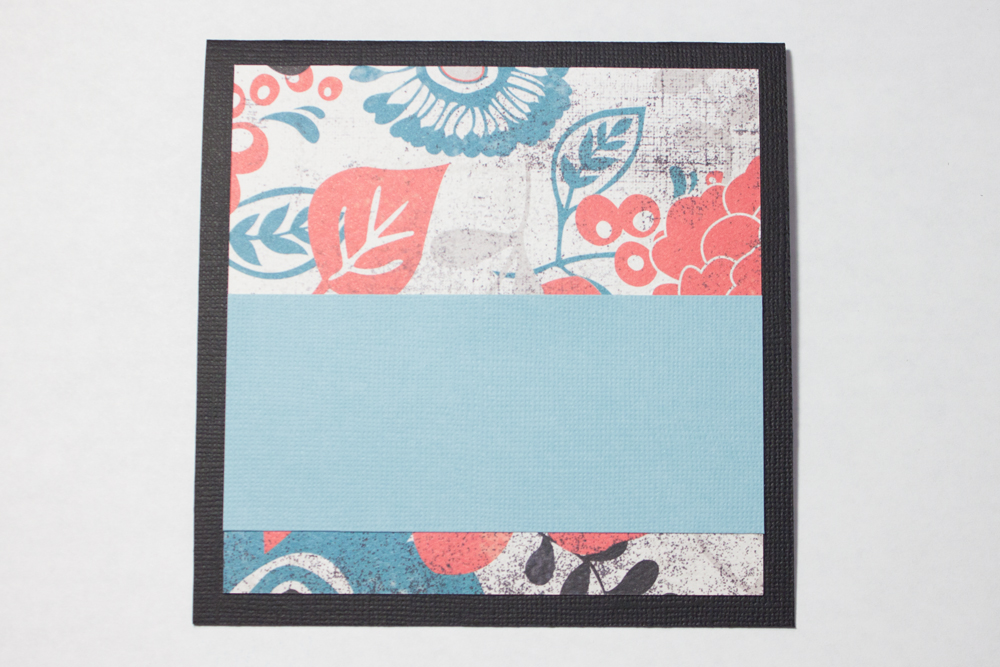
Make a card from a 5-by-10-inch piece of black textured cardstock. Cut a 4 1/2-inches-square piece of red, blue, black and gray floral-patterned cardstock (such as “Enjoyment” from the Celebrate collection by Authentique) and adhere it, centered, to the card’s front.

Cut a 5-by-2-inch piece of light-blue, textured cardstock and adhere it to the floral paper, half an inch above the patterned paper’s bottom edge.
Stamp two sets of images of vintage-fashion women (I used Vintage Fashion Girl Fifties 2 and Vintage Fashion Girl Fifties 4 by Flonz) in black ink (such as Versafine in onyx black) onto white cardstock.
Cut out the images, leaving a small margin around them.

Stamp a talk-bubble image (I used one that reads “Hip, Hip Hooray!” from the Celebration Expressions collection by Inkadinkado) in a light-teal ink (such as Colorbox Petal Point Primary Pastels chalk collection in blue lagoon) onto light-gray cardstock.

Cut out the talk bubble, leaving a small margin around it.

Adhere one of the vintage-fashion cutouts to the left side of the card’s front, close to the bottom edge of the patterned paper. Using dimensional adhesive, affix the other cutout to the right side of the card’s front, lining it up with the other cutout and slightly overlapping it.

Using dimensional adhesive, affix the talk bubble above the cutout on the right side.

Very cute!
I so like those girls!!