
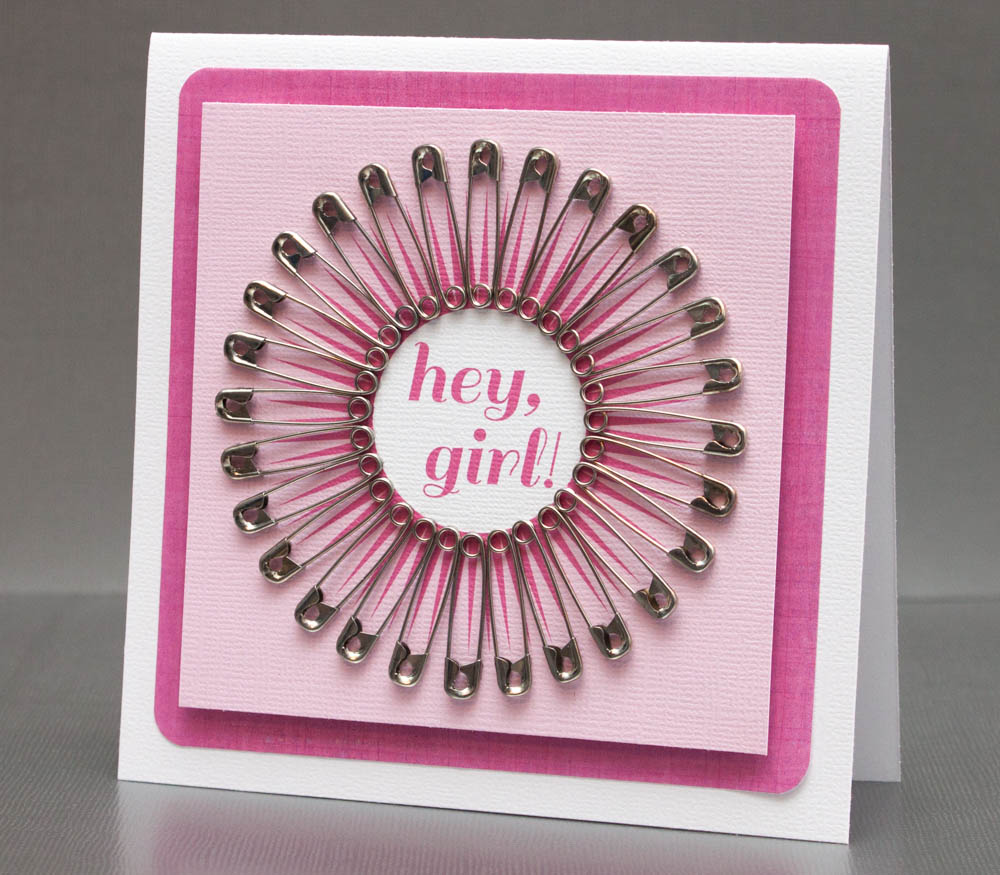
I recently created a card to celebrate the approaching arrival of a friend’s baby girl. I wanted to take a modern approach with the design — something different and bold.
I began by creating the sentiment on my computer, which led to designing a pink sunburst around it and a light-pink background. I printed my design onto textured white cardstock and adhered the card’s standout feature: 28 safety pins.
I’m glad I delivered this card in person. It might have not fared well on a trip through the Postal Service.
Here’s how to make it:
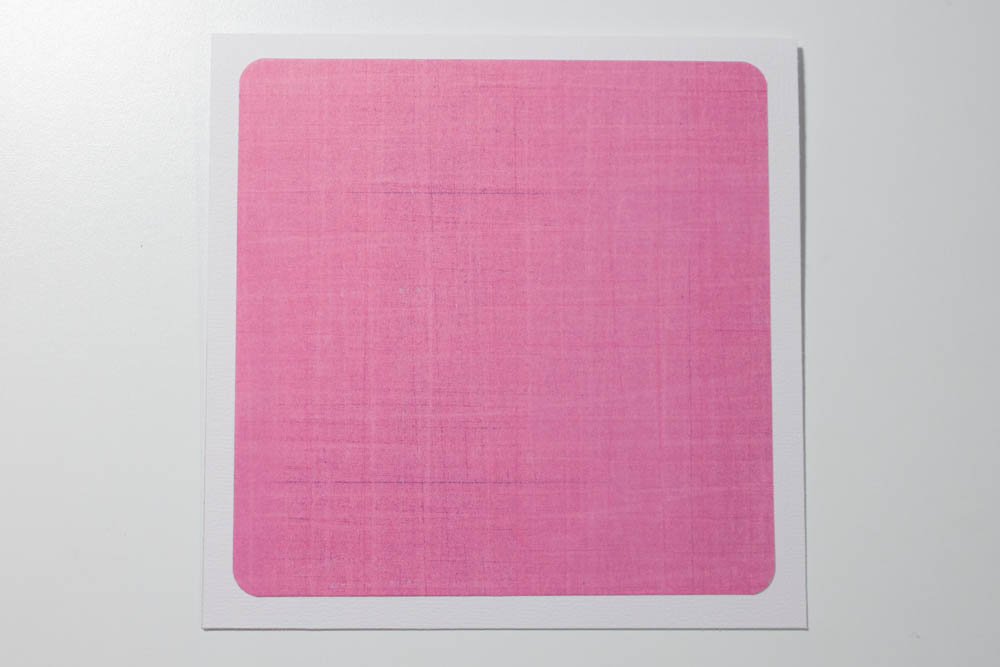
Make a card from a 5-by-10-inch piece of white textured cardstock. Cut a 4 1/2-inch-square piece of medium-pink, linen-patterned cardstock (mine’s “Pink Linen” by The Paper Studio), round the corners and adhere it, centered, to the card’s front.
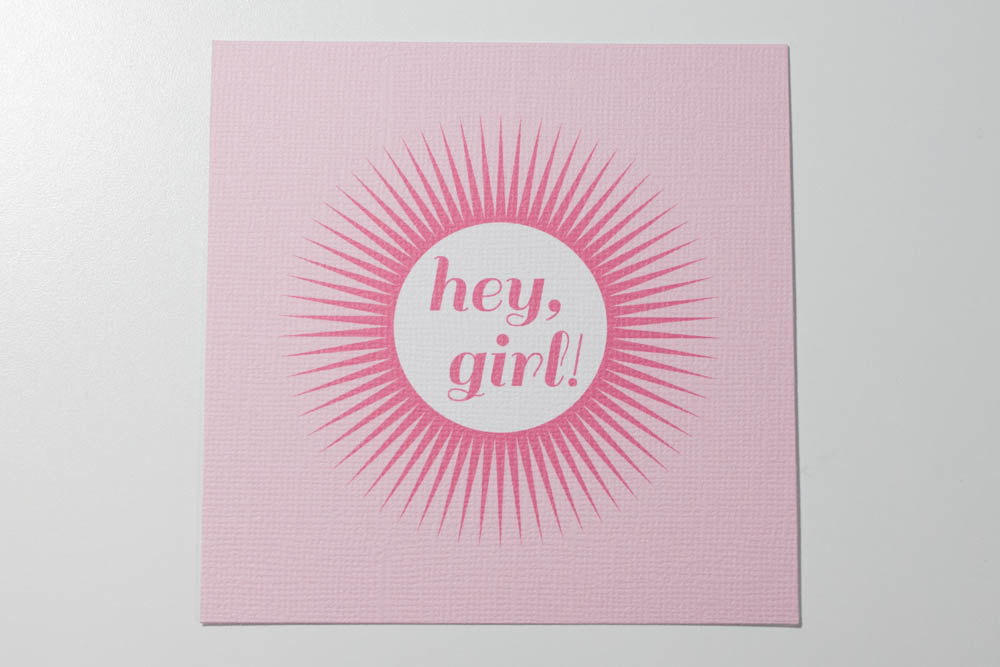
Using a computer program (I used Adobe Illustrator), type “hey,” on one line and “girl!” on a second line in medium-pink text (I used the Sail font, 42 pt., which can be downloaded here) centered inside a 3-inch-wide, medium-pink sunburst graphic that has a 1 1/2-inch white circle in its center. Put this in the center of a 4-inch, light-pink square. (My graphic is available to download here.) Print out the graphic onto white textured cardstock and cut out the square.
Adhere small safety pins (I used 28 pins that are each 1 1/16 inches long, using small pieces of Therm O Web Zips on the wider ends and Aleene’s Jewel-It on the smaller ends) in a circle along the white circle’s outer edge, with the smaller ends of the safety pins positioned inward.
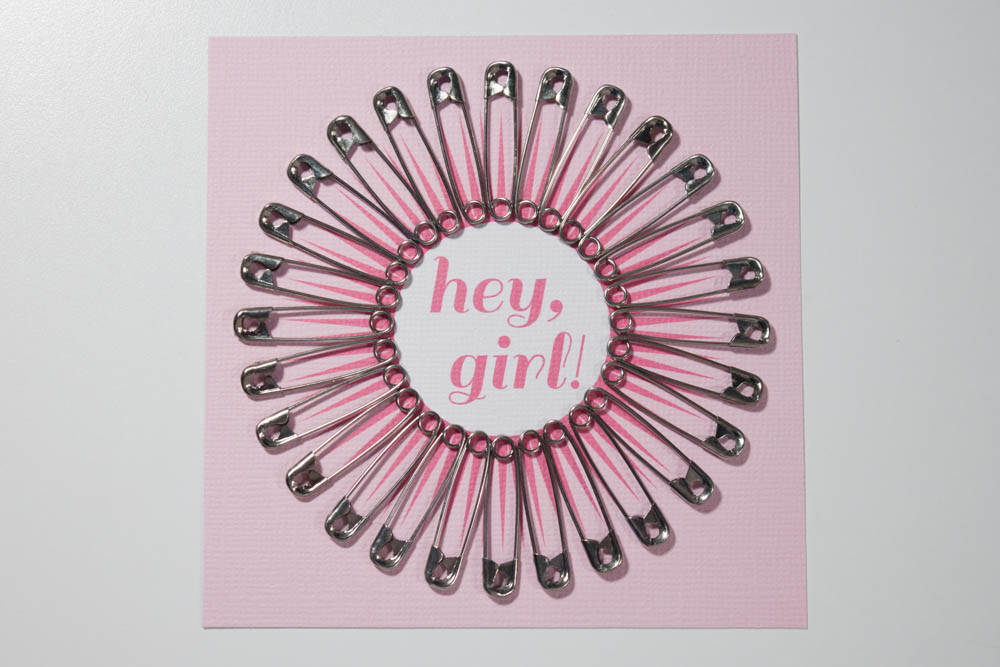
Using dimensional adhesive, affix the 4-inch-square piece, centered, to the medium-pink patterned cardstock.

Very clever, CUTE!!!!
LOVE. So cute!!
Super cute card. I am sure it will be much treasured!
I love that! It would look beautiful framed in a deep frame:)
That is such a clever card! 🙂
Such an awesome idea!!! Lovely card!!!