Typically, when October rolls around, I’m thinking of ideas for Christmas cards. This year, I started in July.
I pushed myself to do it. Two Peas in a Bucket held a “Christmas in July” challenge. I created one trend-heavy holiday delight with a hand-cut chevron pattern, vellum, die-cuts and glitter. The color scheme of black, red and white is non-traditional, and that’s an approach I often take. In the coming weeks, I’m certain I’ll have cards with “retro” colors such as light green, fuchsia and turquoise (check out my gallery for past cards like this). I’ve already thought of a card featuring neon colors. I can’t wait to create that one!
Here’s how to make it:
Make a card from a 9-by-8-inch piece of black textured cardstock (I used Bazzill Basics cardstock in blackbird). Cut a 8-by-3-inch window out of the center of the card’s front, which will leave a 1/2-inch margin around it.
Cut three 12-by-1/2-inch strips of red-and-white, damask-patterned cardstock (such as “Christmas Damask” from the Christmas Home collection by Teresa Collins) and two 12-by-1/2-inch strips of black-and-white, snowflake-patterned cardstock (I used the reverse side of the “Christmas Damask” paper). Cut each strip at a 45-degree angle at every inch. Cut a 9-by-4-inch piece of vellum. Adhere the angled strips of cardstock across the vellum, creating three horizontal chevron stripes. Allow some space between each row for the vellum to show through. Not all pieces will be used; combine the damask pieces with the snowflake pieces as you wish. The chevron stripes need not touch any edges of the vellum.
Adhere this piece under the card’s front.
Apply a “Merry” silver rub-on to a small, metal-and-vellum tag (I used part of a “Merry Christmas” rub-on from the Holiday Borders collection by Cosmo Cricket). Affix a small clear rhinestone and a small red rhinestone to the upper-right corner of the tag. Using silver string, tie the tag to the upper-right portion of a 4-inch-wide die-cut of an ornate frame in silver cardstock (I created the die-cut using my Making Memories Slice Elite, “Mistletoe” design card and cardstock from the neutrals pearlescent collection by Colorbok). Tie a piece of black-and-white ribbon below the tag and a piece of dark-red ribbon below that. Affix a pearl-like embellishment below the ribbon, and a medium-sized red rhinestone below that.

Using my Making Memories Slice Elite and “Mistletoe” design card, I created a 4-inch-wide die-cut of an ornate frame out of silver cardstock.
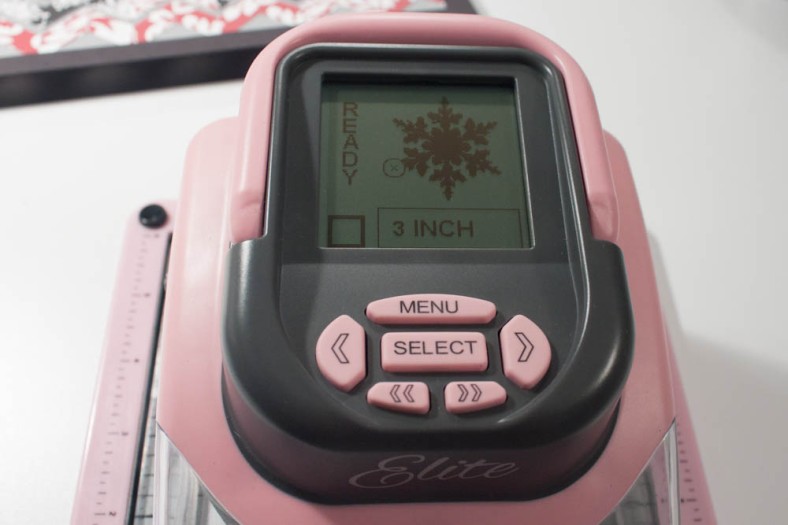
Cover a 3-inch-wide die-cut of a white snowflake (I used my Slice, “Mistletoe” card and textured white cardstock) in clear glitter (mine’s crystal-clear glitter by Glitterex Corp.).

Using my Slice and “Mistletoe” card, I created a 3-inch-wide die-cut of a snowflake in textured white cardstock.
Adhere the frame over the lower-left corner of the card’s window. Using dimensional adhesive, adhere the snowflake over the left portion of the frame, making sure that it doesn’t hang over the card’s edges.


Fabulous card, great design!
That is so much fun with the zig zag design to the patterned papers.
That is one rockin’ design – love it!
Beautiful card! Love the chevron and the size/shape of your card!
beautiful card and the colors are beautiful together!!!
Great card! I love the rhinestone and pearl on the frame. You’ve made me want the mistletoe card for my slice! I love the black on a Christmas card, it makes it seem very glamorous.
I’ve been sharing lots of Christmas cards on my blog this weekend as part of my Frosty Festivities Blog Event!
This is an awesome card. Love the vellum layering